Dry January – Week 4

Uncategorized

For me, this week was the test. Our book launch on the 25th, a Burn’s Night dinner on the 29th and in-between the start of our kitchen renovation. All occasions where I would normally have a glass of something cold and very very strong. How did it go?

Book launch

Jonathan Rose Photography

Dry January – week 3

Uncategorized

We find ourselves at the hump of the month, with still a way to go to the finish line. Richard asked me at the weekend if he could make me a drink and without hesitation I asked for a booze-free dirty martini. We’ve got a recipe for one in our book – page 38 – the dirty rosemary-tini, to be precise, and it’s a good’un. We went for an extra lazy approach of making it with a blend of some faux gins instead of the rosemary infusion the recipe calls for and it wasn’t bad, but I think the infusion works better in this case (not just blowing my own trumpet) because the strength and method quality of the rosemary balances out the brine a lot better. But it was still pretty good.

Dry January – week 2

Uncategorized

It’s getting serious now – we’re on week 2, gang. How’s it going with you? For me, I still haven’t really got back into socialising yet since all those lockdowns. Popped round to a mate’s for coffee this week but it’s the first time I’ve done anything like that in a couple of months, and I’ll easily spend two or even three days not leaving the house. I’m confessing my hermit status because perhaps that is what is making Dry January so very much easier than I thought it would be. I’m not going to the pub, so it’s a doddle and, dare I say it, kinda fun.

The confessions continue…

Right so the Christmas tree and decorations all came down and got put away or recycled accordingly before twelfth night, but this Christmassy can- Lervig’s No Worries – Driving Home From Christmas slid into the week after, shock horror! Also, it’s O.5%! So not totally booze-free!! Lol, course it is, half a percent is less than what’s in bread so I think we’re groovy. This beer was just what I needed on a particularly cold evening after a moderately rubbishy day. It’s a super dark beer, if you like stouts and porters grab a can while you can. Hint of festive spice and lovely bit of bitterness. Beaut.

Lazy Carrot & Potato Tartiflette

Uncategorized

Tartiflette

It snowed…in London! I’m convinced this never happens, but on Monday night it blooming well did!
I’d been complaining about a headache in the office on Monday afternoon, and threw out a comment that I only ever get headaches like that when there’s going to be a storm…so now my colleague is totally convinced I’m psychic. Before I get taken away for scientific analysis, here’s my recipe for a tartiflette inspired bake that’s going to bring a bit of a ski lodge vibe to your weeknight supper.
It’s so easy (I’ve called it lazy) because there’s no par boiling of the potatoes, or even slicing them, and the bacon goes in raw so there’s no frying either!

Serve with a glass of chilled white wine…I like Gewürztraminer because it cuts through the richness of the cheese and because I really like saying Gewürztraminer x

Carrot and potato tartiflette

Lazy Carrot & Potato Tartiflette

Serves 3

Ingredients

500g of baby new potatoes (I used a mixture of red and white ones but any are fine)
250g baby carrots
6 baby onions or small round shallots
2 garlic cloves, unpeeled
25g butter
200g smoked bacon lardons
2 tablespoons of white wine, plus more for drinking if you like, and if you’re old enough of course!
150g – 200g reblochon cheese, sliced
2 tablespoons of crème fraîche

Small bunch of tarragon, chopped
1 little gem lettuce
Baguette (optional)

Method

1. Preheat your oven to 200°c. Peel the baby onions and trim off any roots. Pop them in a large oven proof dish with the potatoes, carrots, garlic cloves, and butter then scatter over the bacon lardons.

2. Bake for 50 minutes to 1 hour, stirring occasionally during cooking (oh and if the potatoes start to whistle prick them with a sharp knife, I was a bit worried mine were going to explode so keep an ear out)

3.  When the bacon is cooked and starting to crisp up and the potatoes are tender and it’s all looking generally ace, take the dish out of the oven and with the back of a fork gently crush some of the potatoes. You just want to flatten them a little bit, don’t totally mash them. Now pour over the white wine and season well with black pepper and a pinch of salt. Next lay the sliced reblochon cheese on top and return it to the oven for another 5 or 6 minutes to allow the cheese to melt, and that’s pretty much it.

4. When the tartiflette is ready, add a dollop of crème fraîche and the chopped tarragon. Serve with chunks of warm baguette, put on your slipper socks and relax.

Happy cooking!

What do you eat when it snows? Gimme a shout on twitter or facebook  #askmim

xx

Easy tartiflette

Lazy carrot and potato tartiflette

Food Safety Week

Uncategorized

Summer Roast ChickenIt’s Food Safety Week (16th-22nd of June) and this year the Food Standards Agency (FSA) wants us to stop washing raw chicken. I was invited to a special FSA event to find out why.

My initial reaction to the invitation was highly enthusiastic (I love a good cookery demo) and I was keen to find out more and share my findings here on my blog. But the more I thought about it the more I wrestled with the idea. I have professional experience in two fields; Cooking and Facilities Management (specifically cleaning), which I fear may make me a rather unpopular dinner party guest. Most people both cook and clean to some degree and have learned these skills over a number of years…so probably don’t like to hear that something they are doing is wrong. The difficulty I have is that I need to know the safest way of working and once I know it…well I can’t un-know it.
If you’re cooking in my kitchen I will probably have one eye on what I’m doing and the other on making sure you’ve washed your hands, are using the correct colour coded chopping board/cleaning cloth/utensil for the task and if you so much as think about double dipping you’re out on your ear! Unfortunately for my friends and family I can be a little too eager to share gross food hygiene horror stories.

But this particular campaign isn’t aimed at professional chefs but to anyone and everyone who cooks chicken, especially at home, and the FSA are keen to reach as many people as possible with the message “Don’t Wash Raw Chicken”.

Food Standards Agency Campaign 2014 Campylobacter

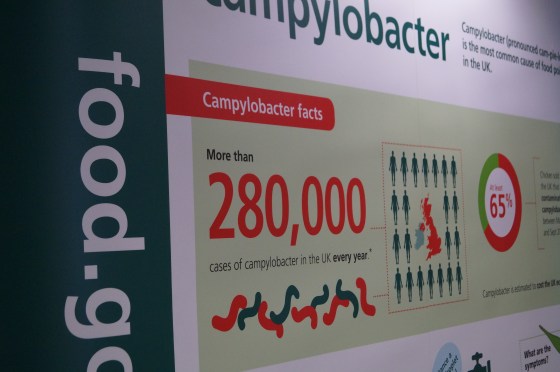
The FSA have found that washing raw chicken in your kitchen sink before cooking it increases the risk of contracting campylobacter which is a form of food poisoning. They issued a press release on why they want to increase awareness now:

“The call comes as new figures released today show that 44% of people always wash chicken before cooking it – a practice that can spread campylobacter bacteria onto hands, work surfaces, clothing and cooking equipment through the splashing of water droplets.

Campylobacter is the most common form of food poisoning in the UK, affecting an estimated 280,000 people a year. Around four in five of these cases come from contaminated poultry. The resulting illness can cause abdominal pain, severe diarrhoea and vomiting. In certain cases, it can lead to irritable bowel syndrome, reactive arthritis and Guillain-Barré syndrome, a serious condition of the nervous system. At its worst, it can kill. Those most at risk are children under five and older people.”
Food Standards Agency 16/06/14

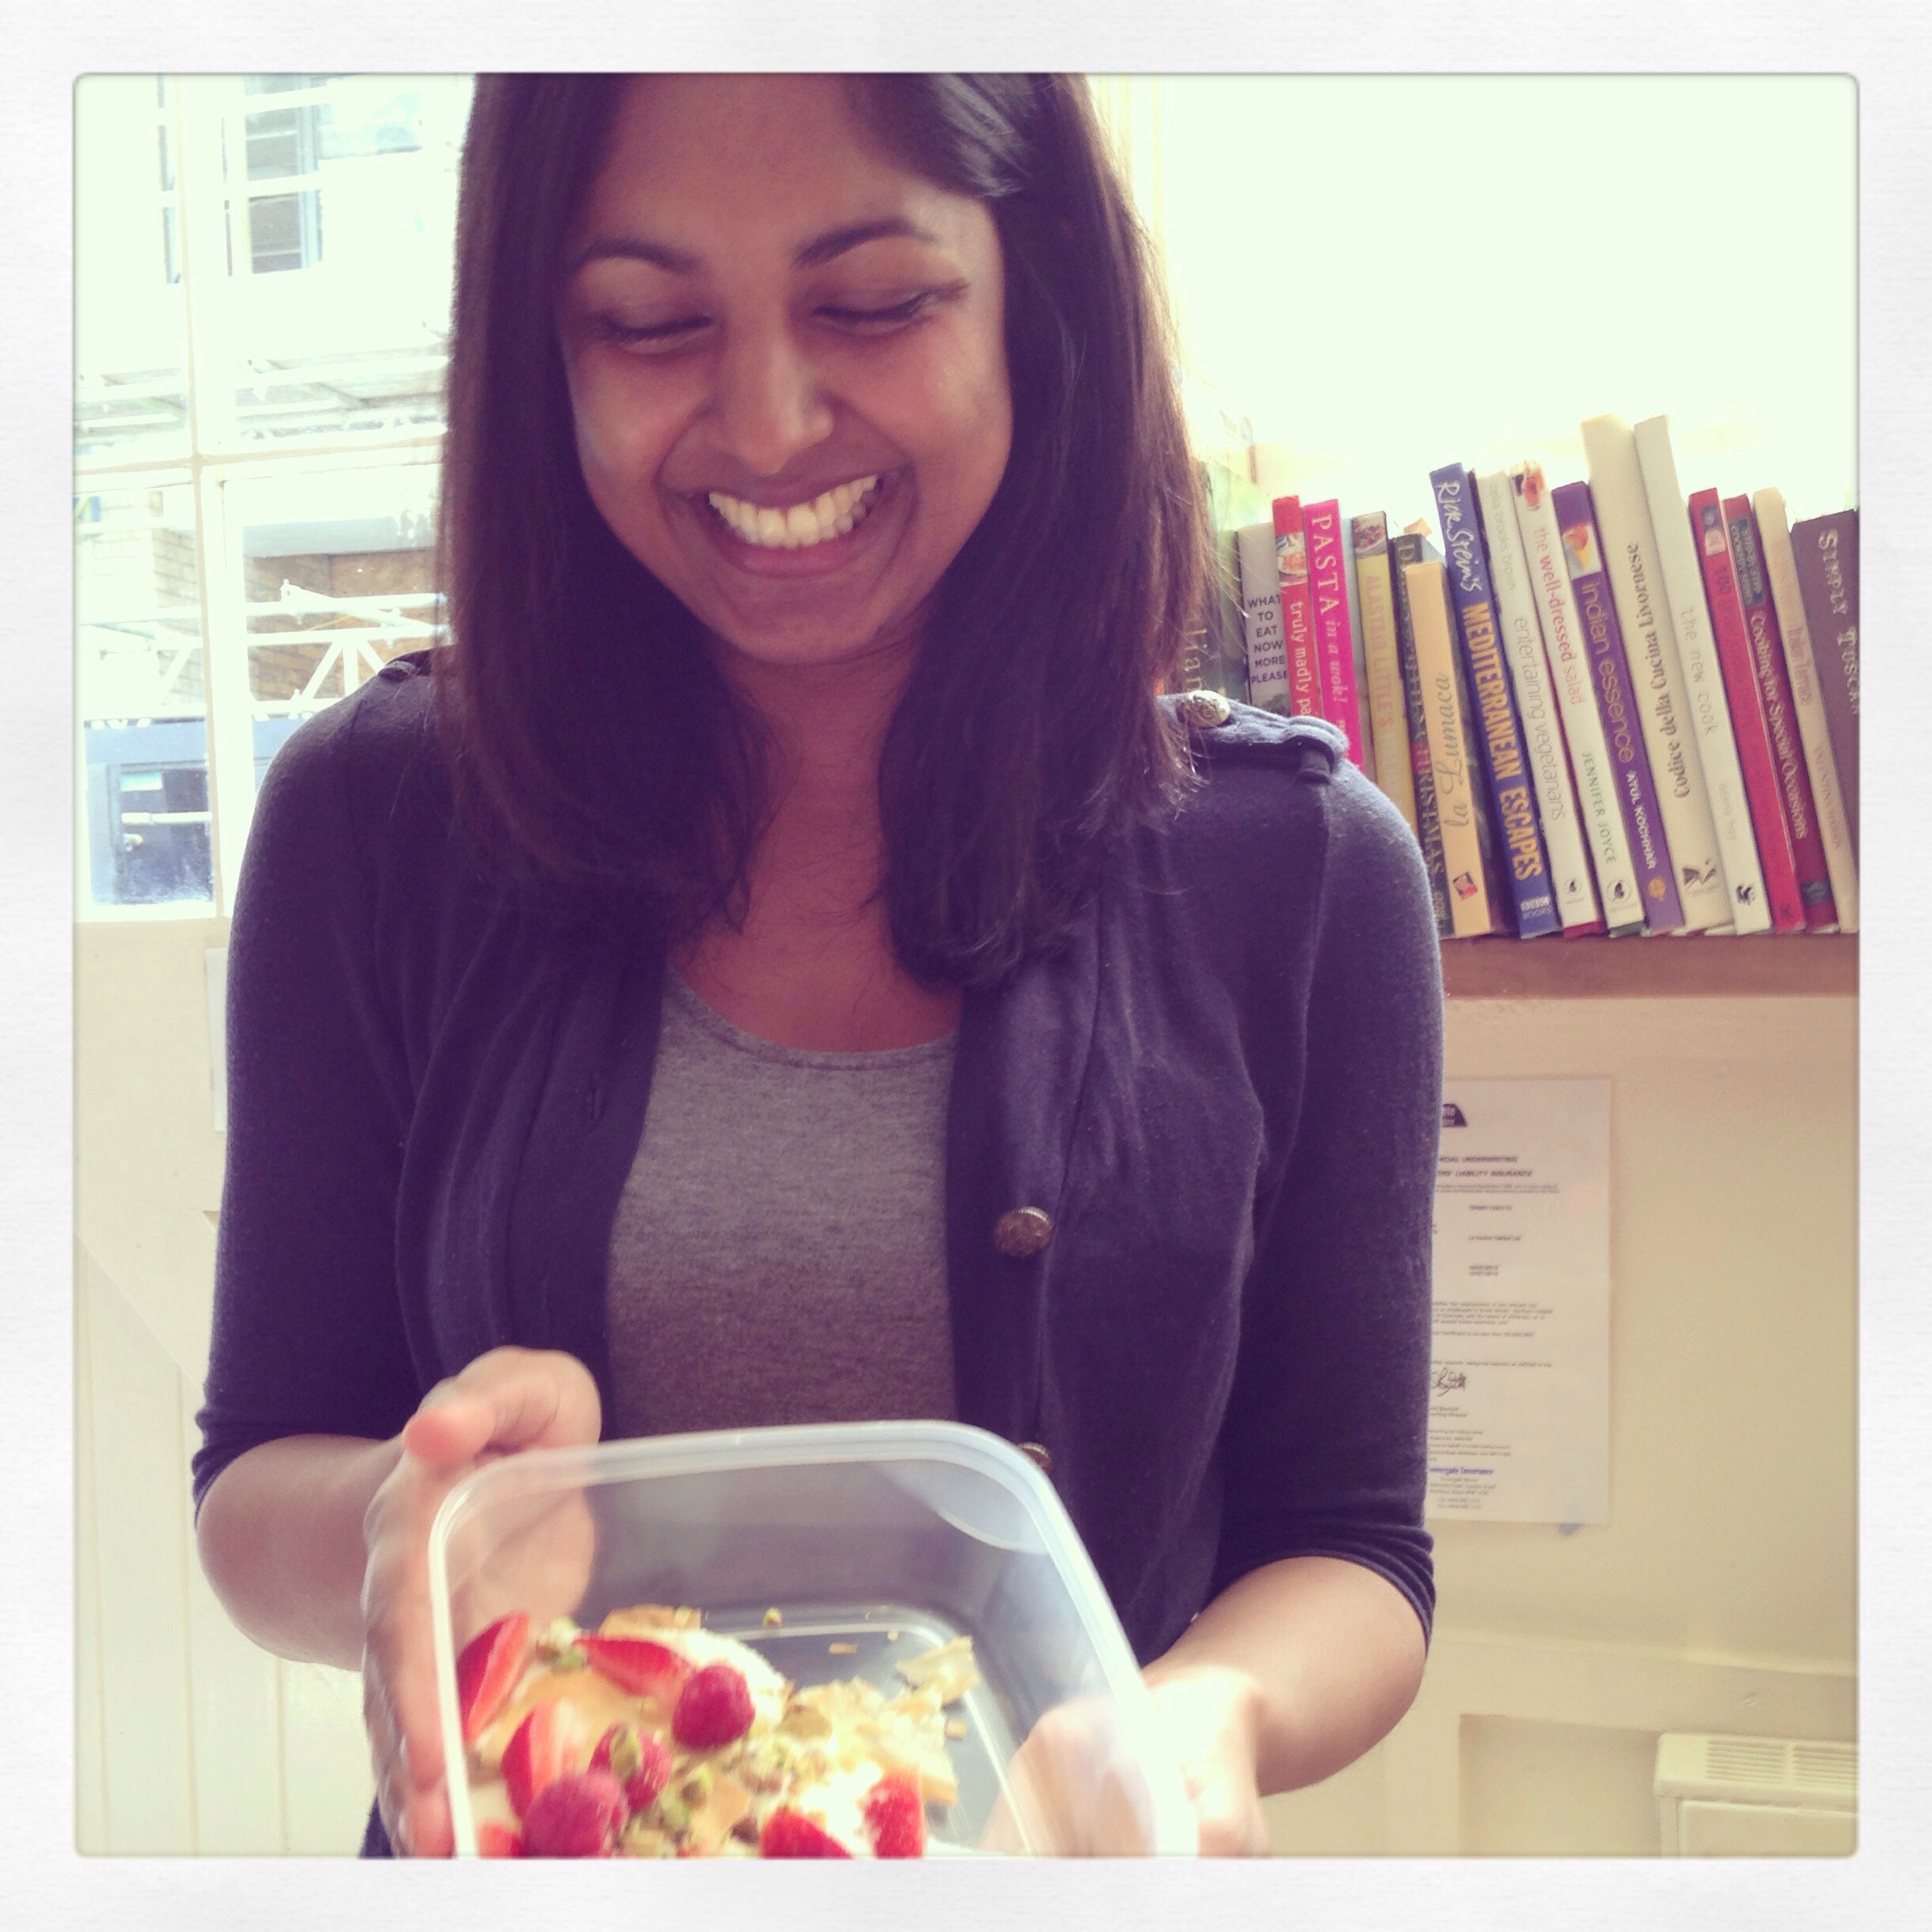
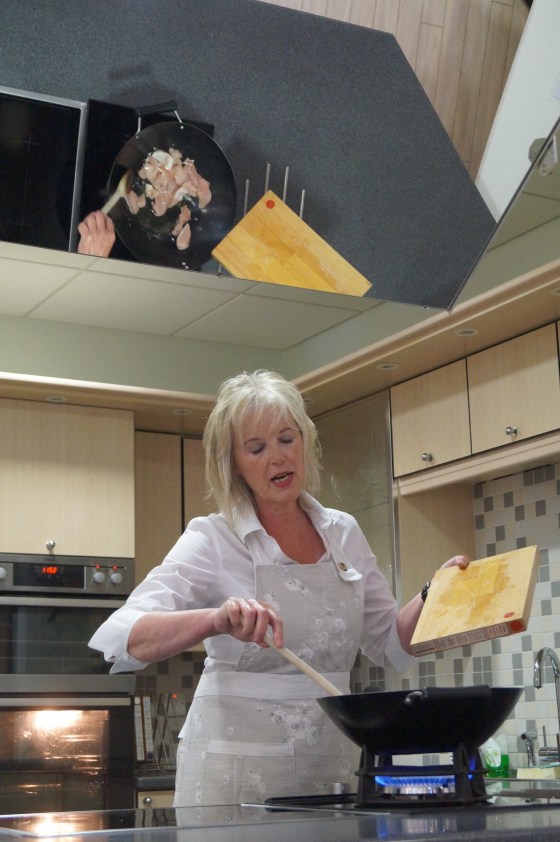
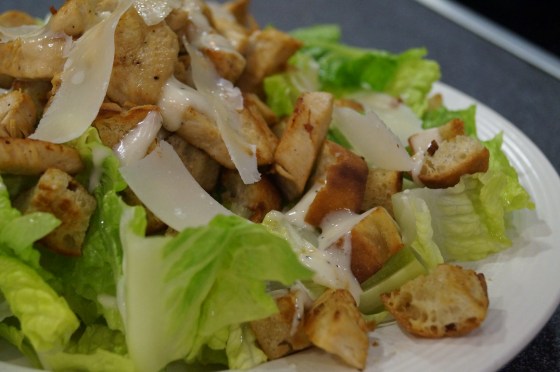
At the press event the speakers were Bob Martin from the FSA, Professor Sarah O’Brien from the Institute of Infection and Global Health at the University of Liverpool and Home Economist Sue Ashworth who demonstrated how to prepare a raw chicken for roasting and whipped up a quick Caesar Salad. Even though we’d spent the morning talking about food poisoning I still managed to scoff a load of Sue’s chicken salad.

Sue Ashworth Home Economist Sue Ashworth Home Economist Sue Ashworth's Chicken Caesar Salad Sue Ashworth's Roast Chicken for FSA Event

I knew that raw chicken was something to be dealt with carefully but I thought that was due to the risk of salmonella. I was shocked to then discover the number of campylobacter cases far outweighs the instances of salmonella, e.coli and listeria put together! The facts kept getting scarier – the amount of organisms you need to consume to become infected is tiny and if you’re unlucky the effects can be horrendous. BUT this isn’t a public health scare. This isn’t like when BSE hit the headlines or Edwina Curie started flapping about eggs. From what I could understand from the data presented; cases of camplyobacter have been steadily high for many years. The FSA seem genuinely committed to bringing these figures down and, as well as this campaign, they are talking to farmers, suppliers and major supermarkets to reduce the contamination at all stages.

FSA Campylobacter Campaign 2014

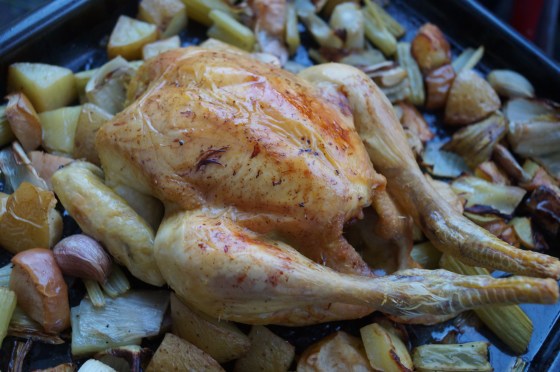
So, now you know! There’s loads more information, if you want to hear even more grizzly details on the FSA website. All you need to do is tip the raw chicken straight into the roasting tray or frying pan directly from the packet then wash your hands. The bacteria is mostly on the surface and the high heat of the oven or the pan will destroy the bacteria for you…no go tell your friends, preferably at a dinner party so that I’m not the only one!
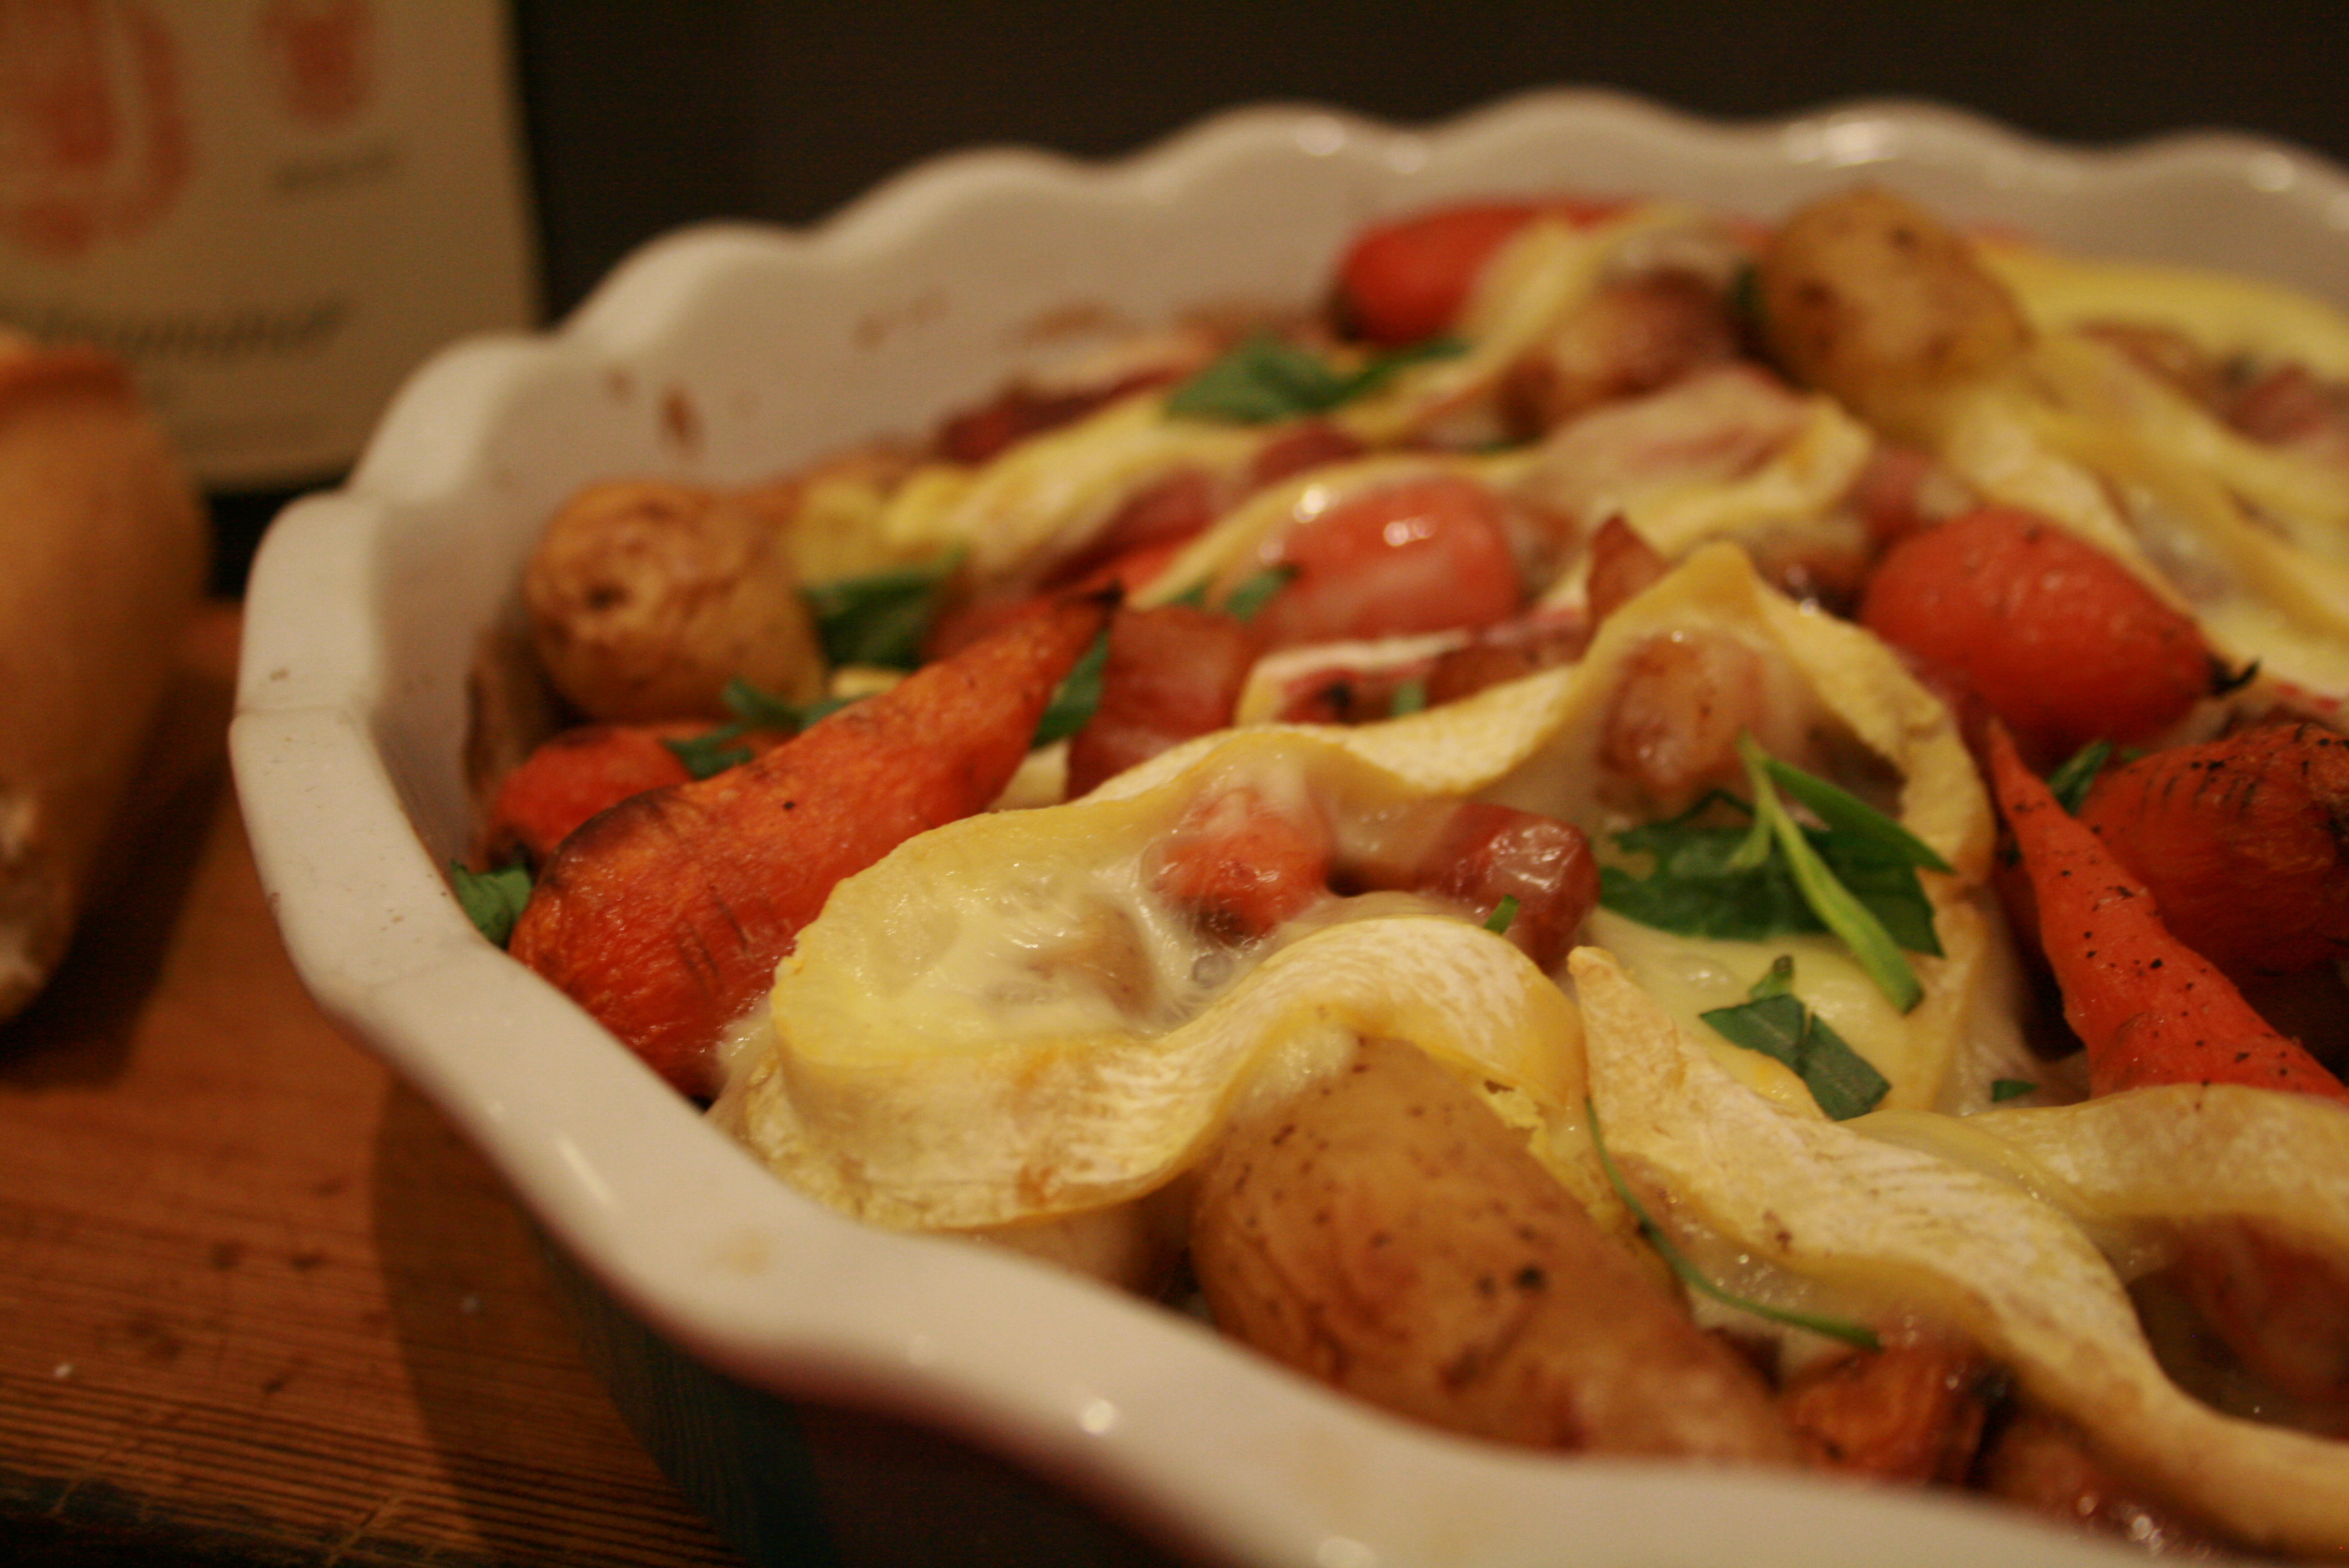
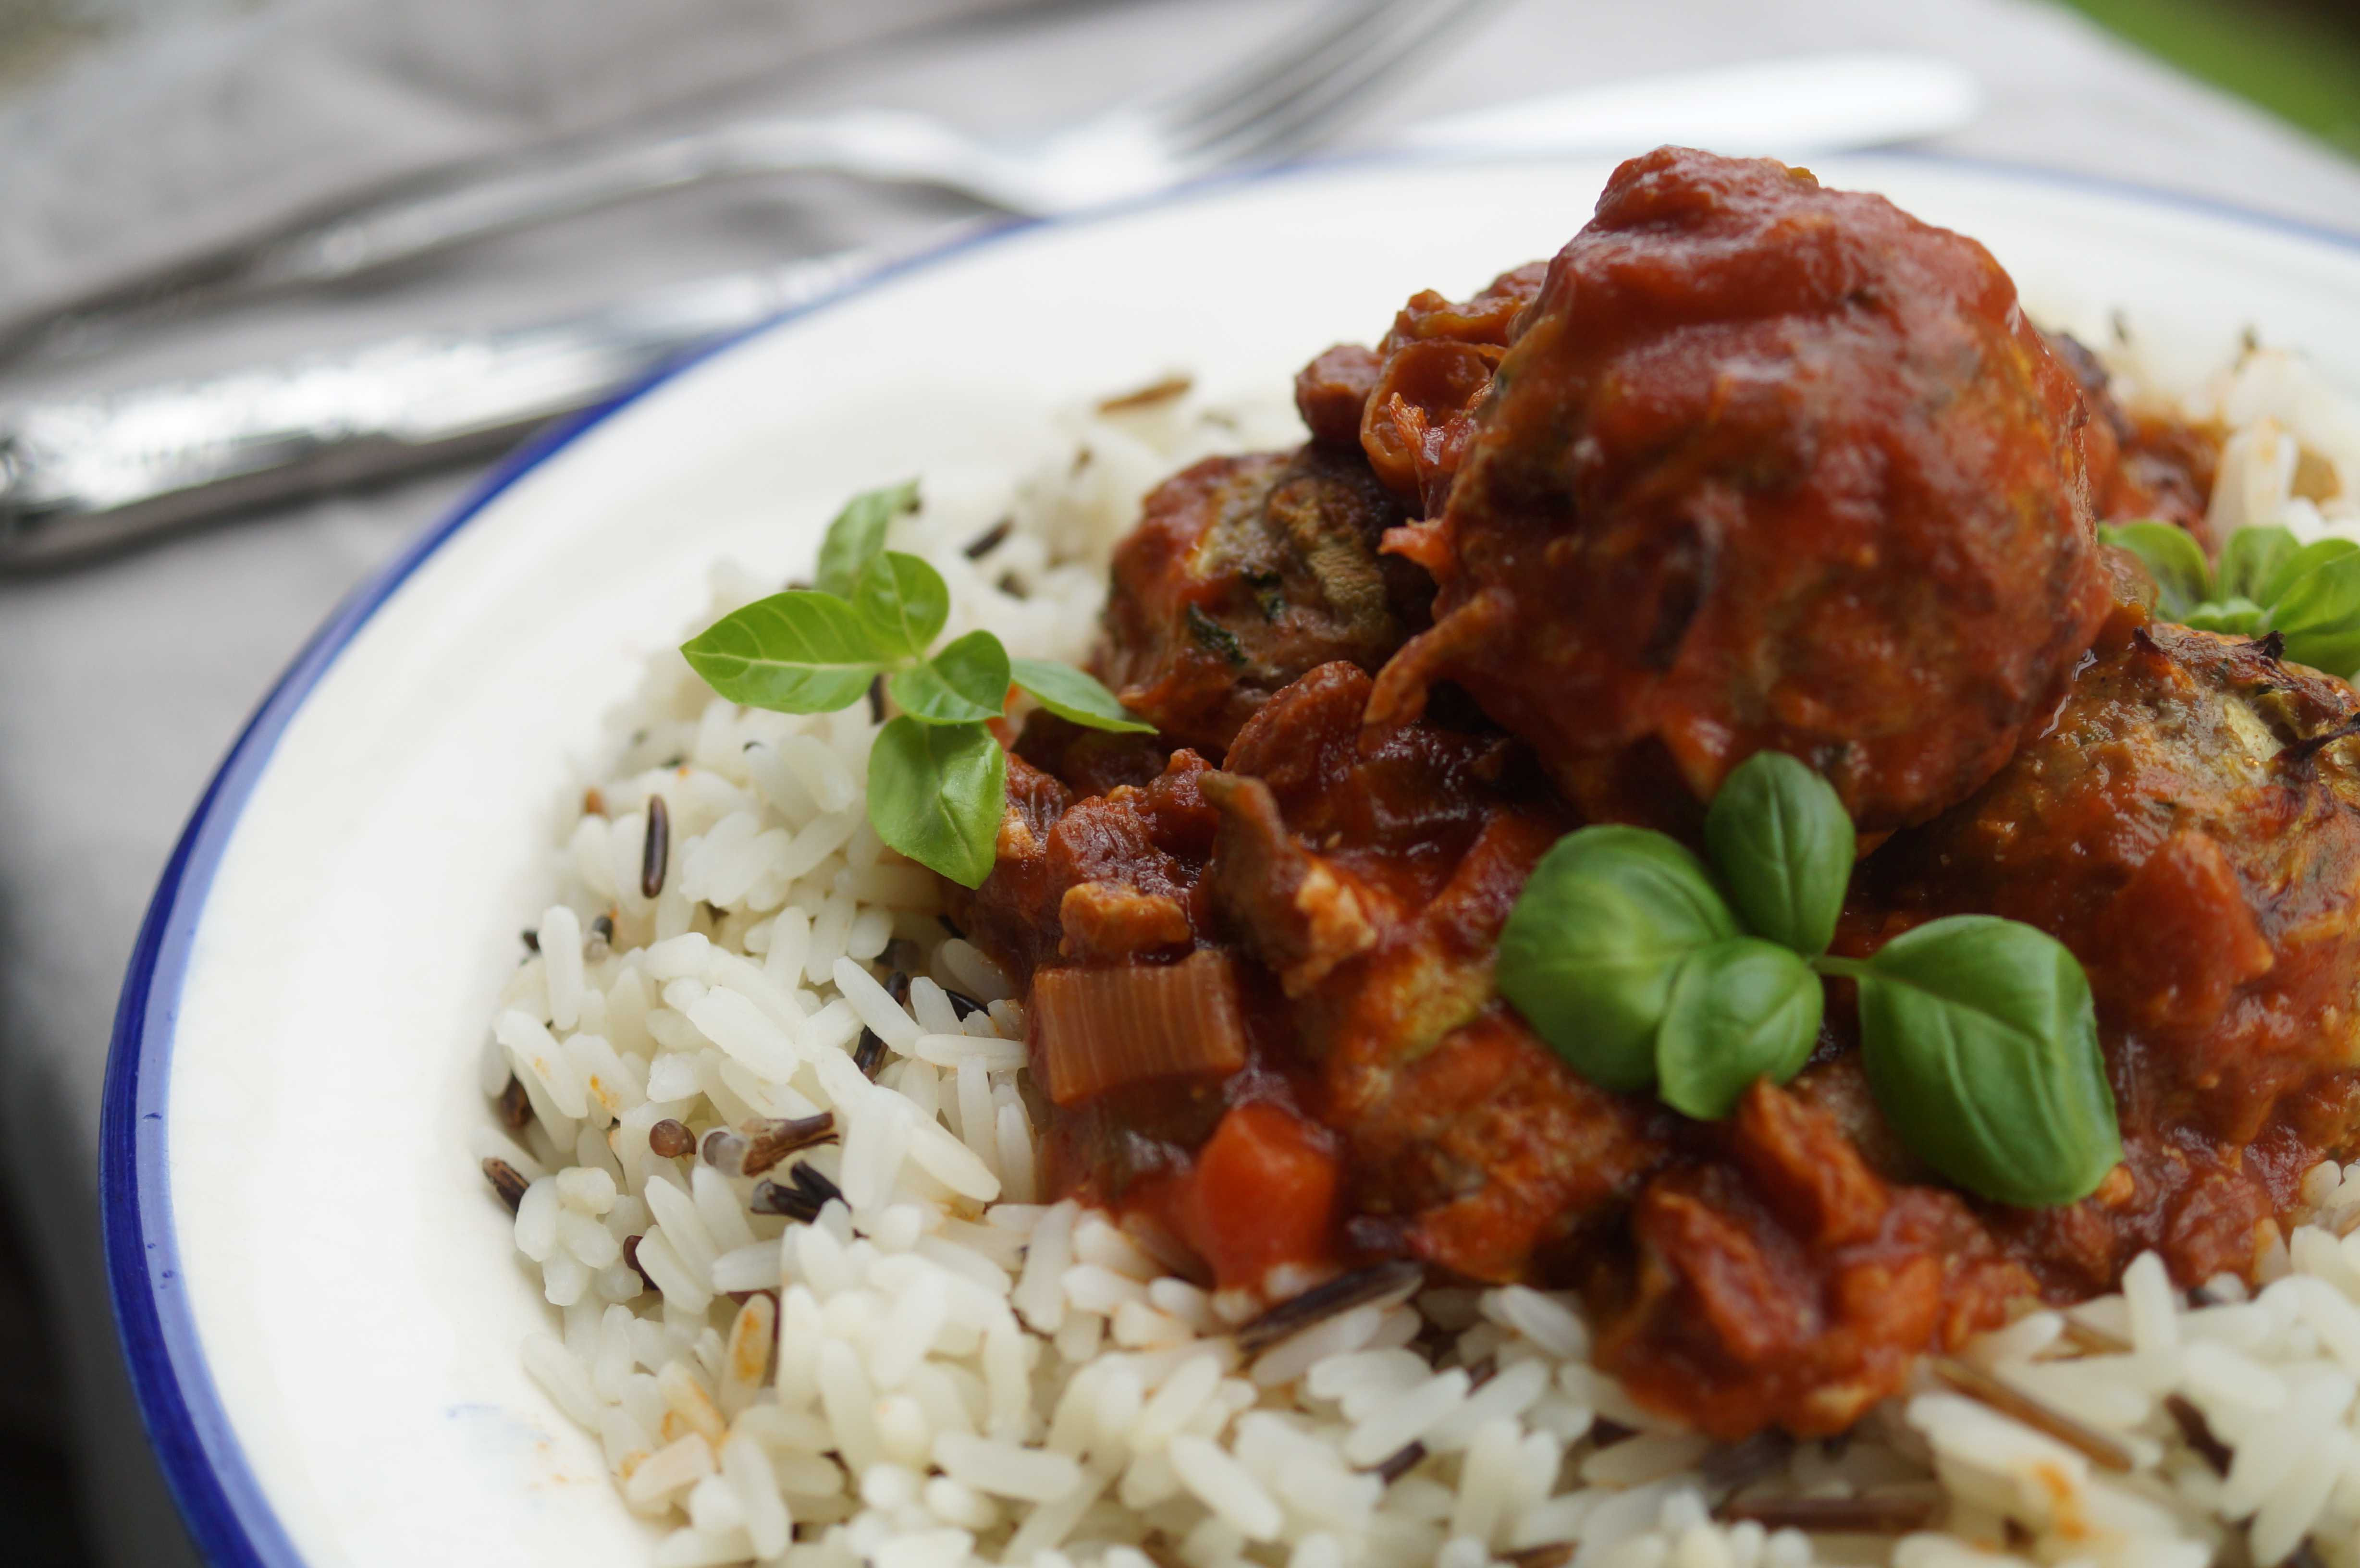
Summer Roast Dinner

Now for the tasty bit.  If all this talk of bacteria hasn’t put you off your dinner (and I really hope that it hasn’t) I’ve come up with a super simple alternative to a traditional Sunday Roast, perfect for a hot Sunday evening. Everything cooks together in one tray at the same time and there’s no sweating over a hot pan of gravy.


Summer Roast Chicken with Watercress

Serves 4

Ingredients
3 tablespoons of olive oil
1 baking potato
5 sticks of celery
1 medium sized fennel bulb
1 head of chicory
5 garlic cloves (unpeeled)
2 eating apples
Salt & Pepper
1 medium sized free-range chicken
1 bag of watercress

For the dressing
Zest and juice of one lemon
2 dessertspoonfuls of olive oil
Salt & Pepper

Method
1. Preheat the oven to 190°C then drizzle the 3 tablespoons of olive oil over a large baking/roasting tray.

2. Pick the leaves off the celery stalks (if there are any) and the fronds from the fennel and set aside for using in the dressing.

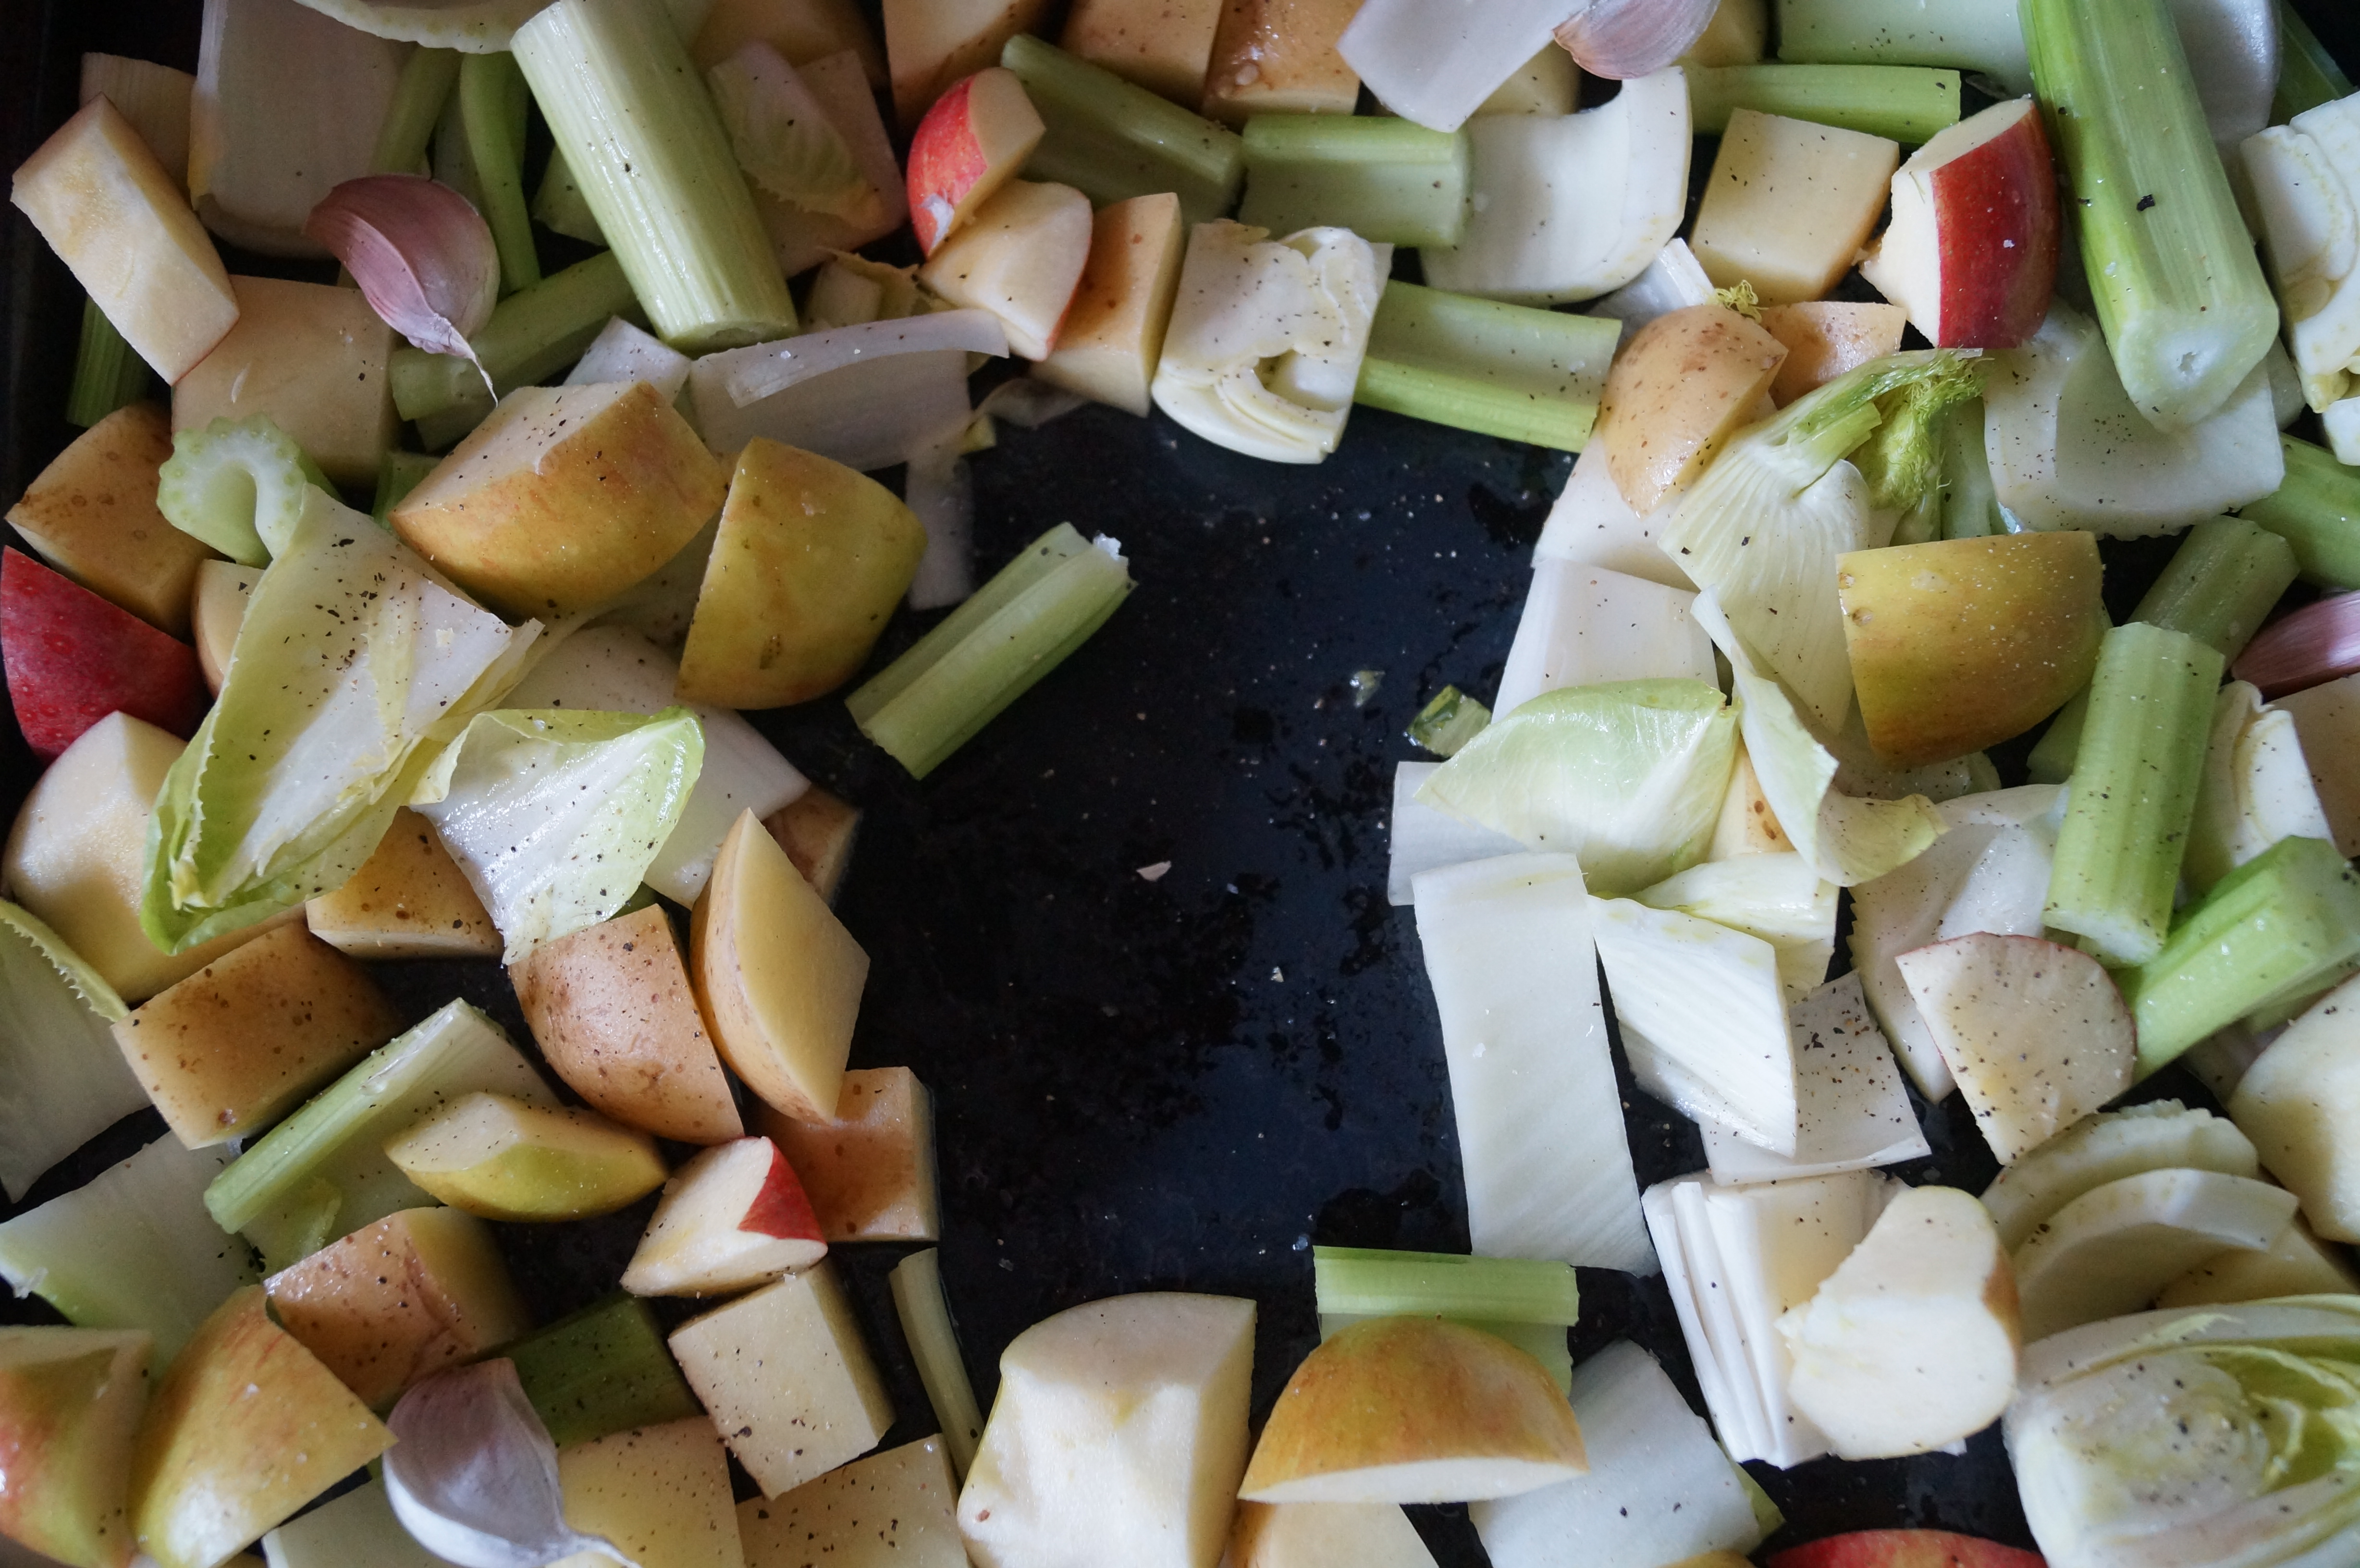
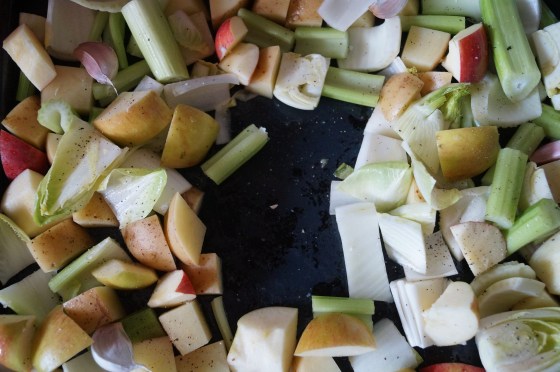
3. Wash and chop into large chunks the apple (discard the core and seeds), potato (no need to peel it), fennel, celery and chicory. Pile all these chopped ingredients and the garlic cloves into the roasting tray and toss in the oil. Season well with salt and black pepper then make a space in the centre of the tray for the chicken.
Roasting tray ready for the chicken to be added

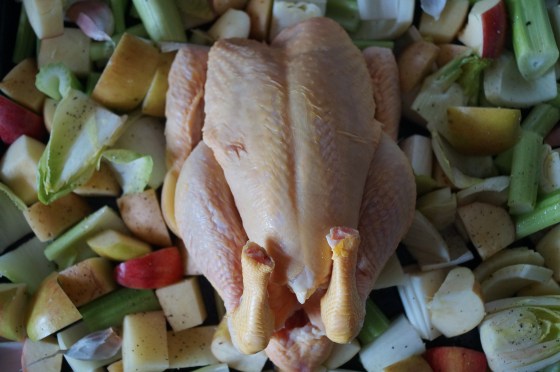
4. Remove and dispose of all the packaging from the chicken and place it in the centre of the roasting tray, no need to wash the chicken first. Wash your hands in hot soapy water.
Chicken with Potatoes, Fennel, Apple, Chicory, Celery and Garlic ready to be roasted

5. Cover the whole tray in tin foil and roast in the preheated oven for 1 hour.

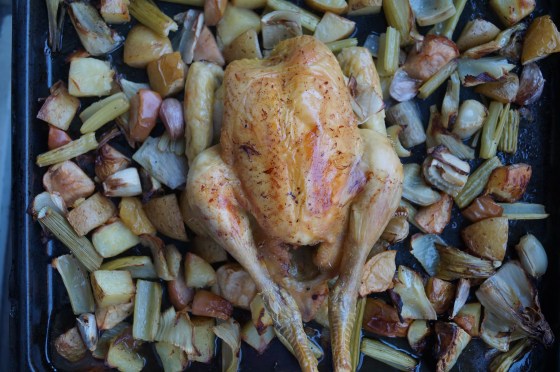
6. After an hour remove the foil and use a spoon to baste the chicken in the juices. Put the tray back in the oven for another 30 minutes.

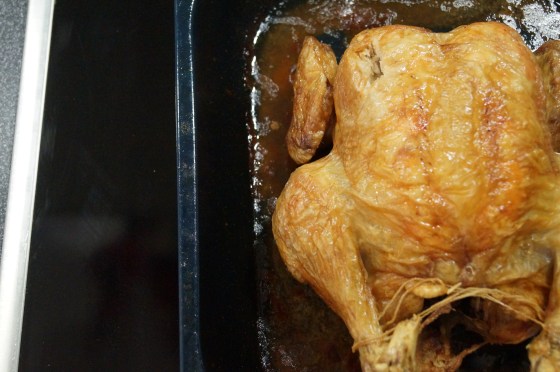
7. Check the chicken is cooked through by inserting a sharp knife or a skewer into the thickest part of the bird. If the juices run clear and the meat inside is opaque white all the way through then it’s ready. If not pop it back in the oven until completely done.
One-tray Roast Chicken with Potatoes, Fennel, Apple, Chicory, Celery and Garlic

8. To make the dressing, finely chop the fennel fronds and celery leaves (reserved from earlier) and add to the zest and juice from one lemon. Whisk the mixture whilst you gradually add 2 dessertspoons of olive oil until well combined, it should also thicken slightly. Season with salt and pepper.

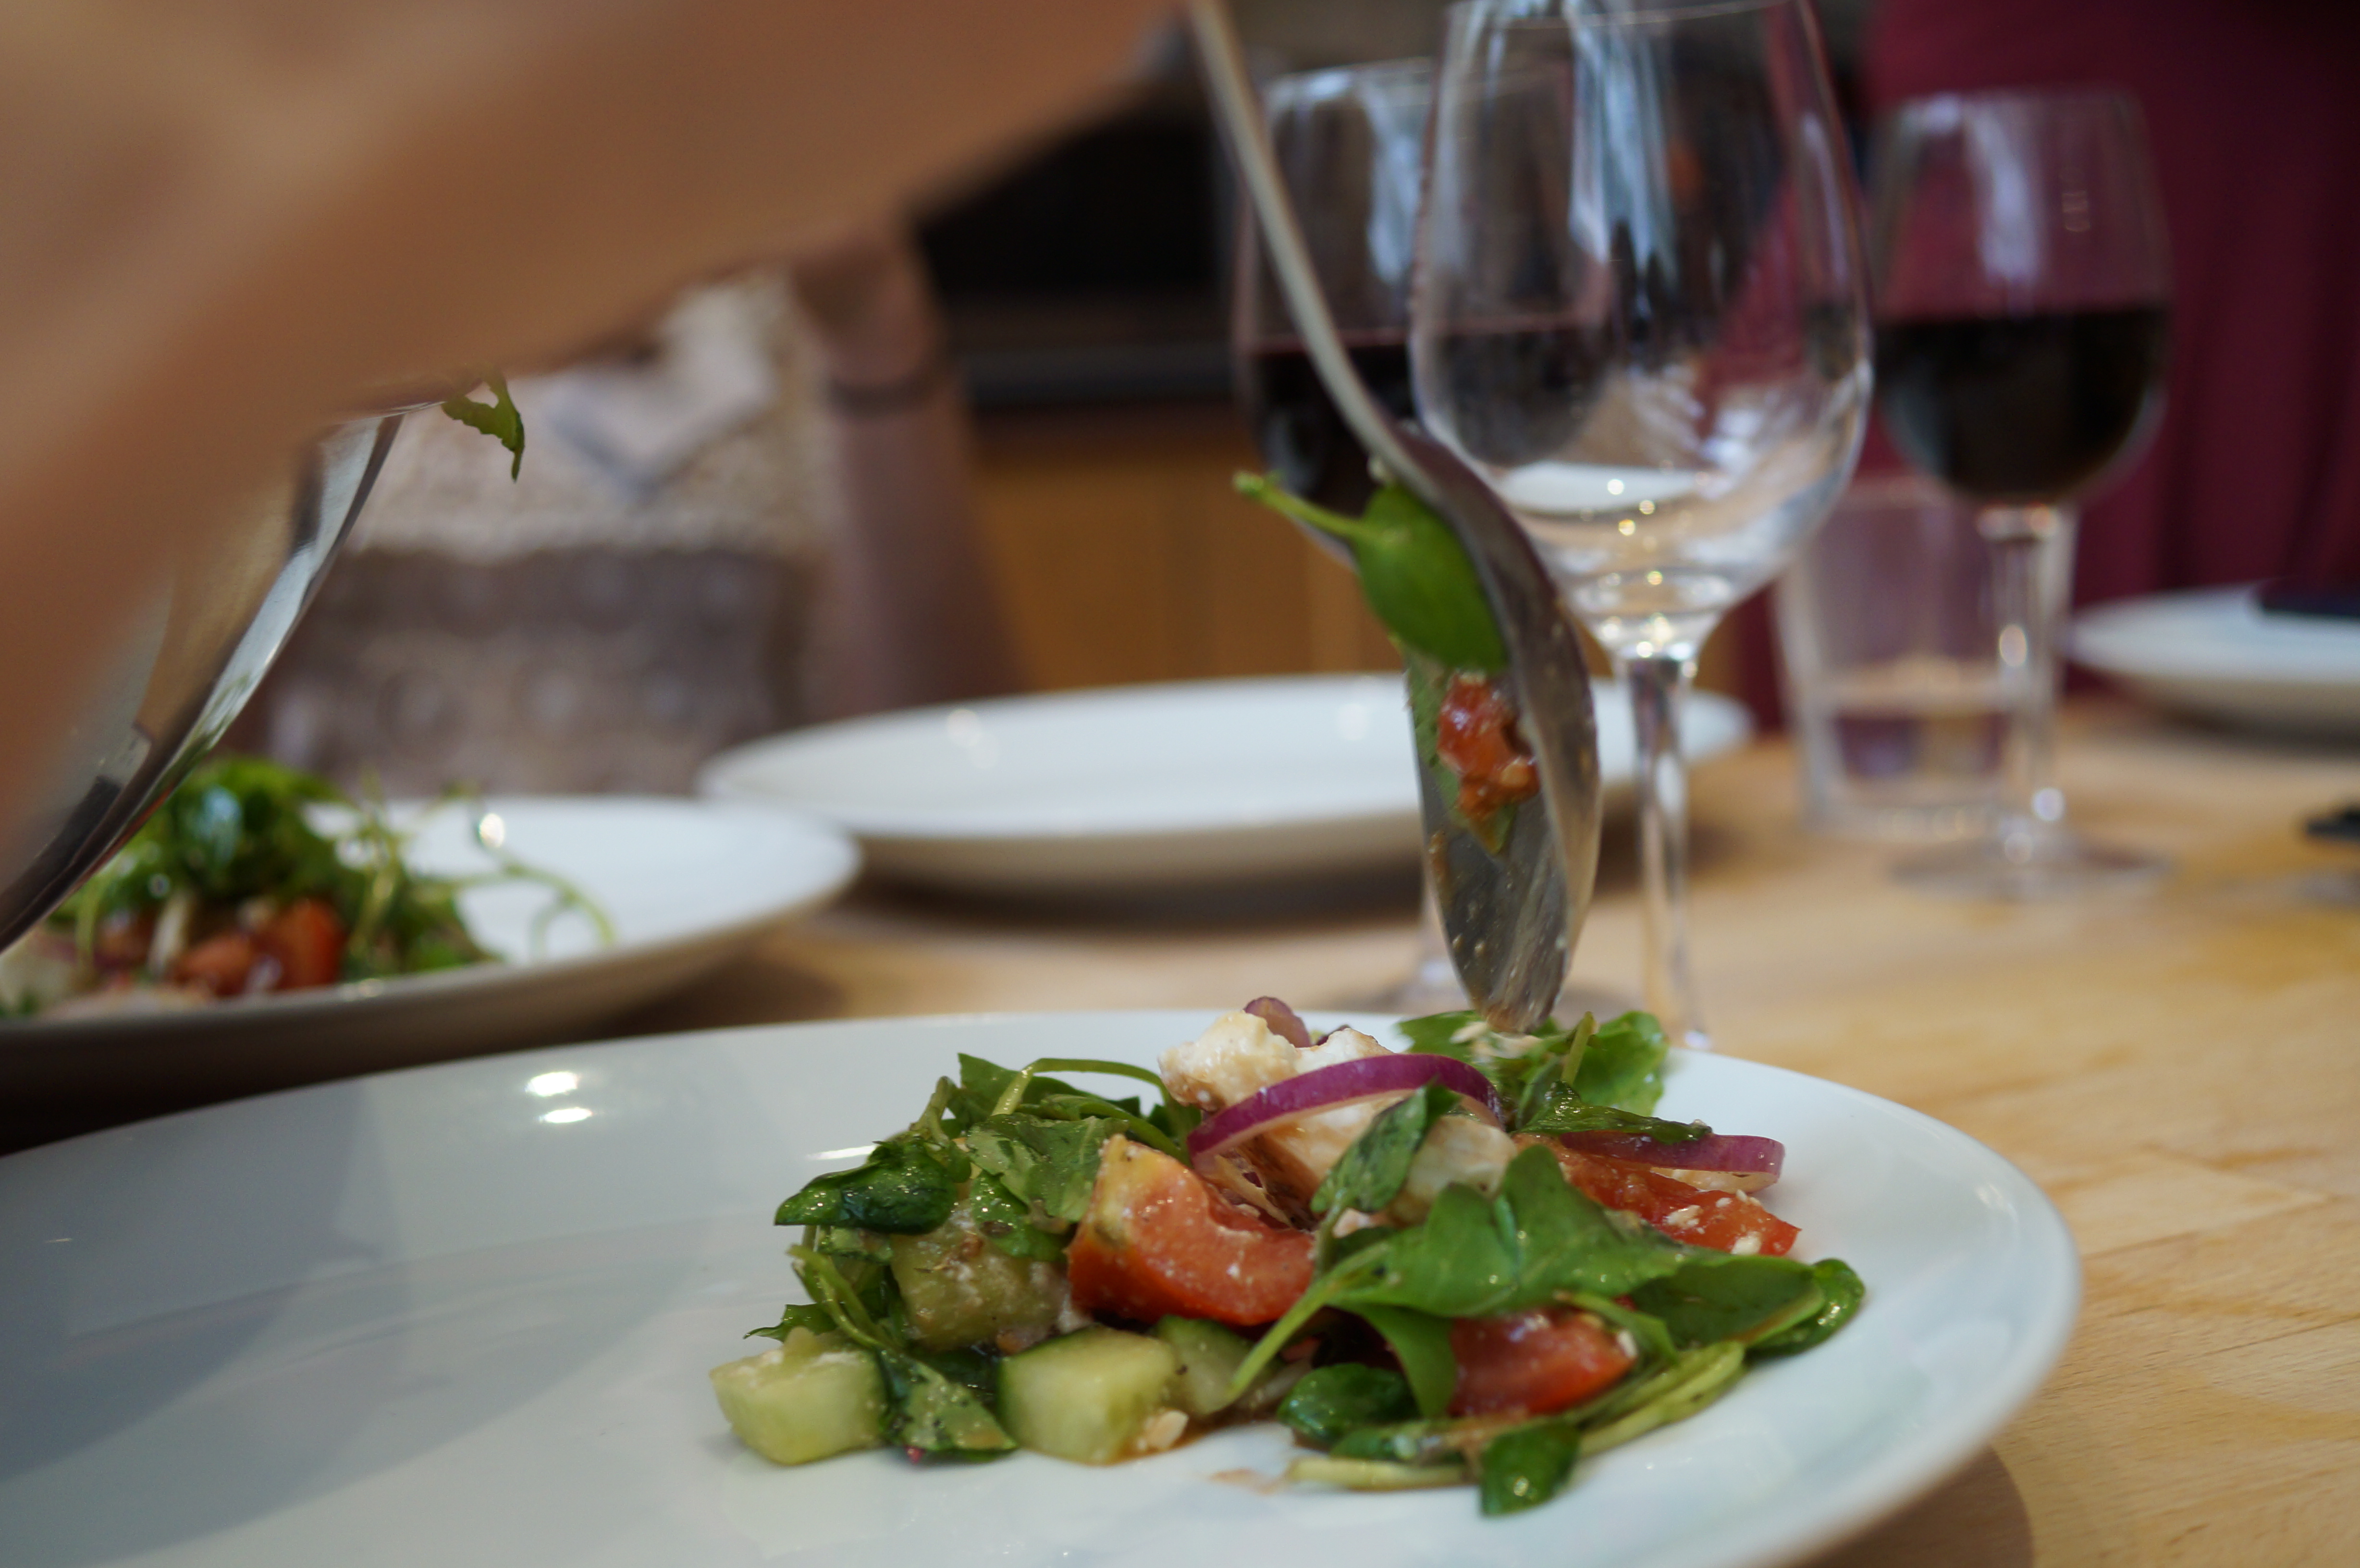
9. To serve, scatter some watercress leaves on each plate, pile the roasted fruit and vegetables on top then add pieces of roasted chicken. Drizzle everything with the lemon dressing and enjoy, preferably outside with a cold glass of white wine.
Summer Roast Chicken

Summer Alternative to Roast Dinner

What are your favourite chicken dishes? Did you wash raw chicken before the campaign started? Do you have any questions on cooking or ideas you want to share? Do get in touch I’d love to hear from you. I’m on twitter as @miriamjsnice and you can throw all your kitchen queries at me using the hashtag #askmim. Alternatively say hi on Facebook or drop me a message via the Ask Mim! contact page.

Happy cooking xxx

Lamb and Vegetable Meatballs

Uncategorized

DSC08969

I really fancied making meatballs this week. Mostly because my Dad called me to tell me about some of the delicious meatballs he’s been making from one of Yotam Ottolenghi’s cookbooks. I was also inspired by the lamb patties we made at Tonia Buxton’s Total Greek Yoghurt masterclass. Normally when I make burgers or meatballs I’m a bit of a purist and like to make them from nothing but meat. However Tonia’s recipe contained egg and breadcrumbs as well as spices and it gave a really nice texture and kept the meat juicy. I used all my breadcrumbs last week for those fish fingers plus I wanted to try something a bit different. So, instead of bread I decided to throw a load of grated vegetables into the mix. This really works because it makes the mixture go a heck of a lot further and I love the little flecks of green and orange running through the meatballs from the courgette and carrot – they look really quite snazzy!

Ingredients

For the Meatballs:
250g lamb mince
1 clove crushed garlic
1 large free-range egg
1 carrot (grated)
1 courgette (grated)
1 teaspoon of ground allspice
1 teaspoon of ground cinnamon
Pinch salt

Plus 1-2 teaspoons of vegetable oil (for greasing the tray)

For the Sauce:
3 spring onions
2 teaspoons of vegetable or Olive oil
1 dessertspoon of balsamic vinegar
1 Clove of Garlic (crushed)
Approx 200g passata
Tea-cupful of water
Handful of sultanas
Salt and pepper to taste

150g of rice
Cold water

Optional: fresh basil, parsley or Parmesan cheese

Method
1) Preheat oven to 190°c and drizzle the vegetable oil on a baking sheet.

2) Place all of the meatball ingredients into a large bowl and mix well with your hands. Really get stuck in squashing it all together so all the spices are properly mingled in with the meat and grated veg.

3) Once all the ingredients are really well combined divide the mixture into 10 and roll into meat balls.

DSC089474) Pop the meatballs onto the greased baking sheet and cook in the preheated oven for around 15 minutes or until turning brown on the outside and cooked all the way through.

DSC08948 5) While the meatballs are cooking away stick the rice on to boil. I rinse my rice before I boil it and cook it in a pan with about 2-3cm of cold water on top. I bring it to the boil and then let it stay boiling for about 10 minutes. Then I put the lid on and turn the heat off and let it sit in its own steam for another 10 minutes…but everyone has their own tricks for rice – if in doubt follow the instructions on the pack.

6) So, rice is on, meatballs are in, all that's left now is the tomato sauce:
Chop the spring onions and fry them gently in the oil until they're starting to soften.

7) Stir in the crushed garlic for just a couple of seconds then add the balsamic vinegar, passata and water.

8) Throw in the sultanas and leave to simmer (stirring occasionally) for about 10 – 15 minutes or until it has reduced a little, you want it about as thick as the passata was before you added the water, if not just slightly thicker. Season to taste.

9) When the meatballs are done take them out of the oven and when you're happy with the sauce pop the meatballs into it and give them a stir round to give them a good tomatoey coating.
DSC08956
10) Serve your meatballs and tomato sauce on a bed of rice with a few fresh herbs scattered around or a cheeky grating of Parmesan cheese.

DSC08962

If you make this recipe or any others on my blog do let me know and don’t forget to get in touch too if you have any recipe requests or cooking queries. Love hearing from you all. Have a fab weekend and Happy Cooking xx

Fish Fingers

Uncategorized

I must warn you, my reason behind making fish fingers this week isn’t particularly thrilling. I wish I could recount some whimsical, nostalgic tale… or discuss Doctor Who serving them with custard …even explain that I needed comfort food for some sob story or another. The truth is much less exciting. Basically I found the end of a loaf of rather nice black olive bread (which I had left in it’s bag on the kitchen table for a couple of days) and although still perfectly edible, it had become so stale that if thrown, it could probably smash through a brick wall! I hate chucking things away so I thought I’ll make breadcrumbs and that led to FISH FINGERS and here we are. I have decided to share it because it actually turned out to be a lovely, healthy meal made from mostly store-cupboard regulars. The salty capers and gherkins in the sauce plus the lemon juice on the pea salad mean’t that the whole dish is packed with so much flavour I don’t think the dish needs extra salt or butter in the mash – give it a whirl let me know what you think.
DSC08934

Fish Finger Dinner

Serves 2
Ingredients

For the Fish Fingers
2 Fillets of fish (I used salmon)
Approx 50g of stale bread
2 tablespoons of plain flour
1 egg, beaten
1 teaspoon of vegetable oil

2 sweet potatoes, peeled
2 handfuls of frozen peas
few sprigs of fresh mint
juice of half a lemon
Olive oil

Sauce
5-6 small radishes
2-3 mini gherkins
1 teaspoon of capers
1/2 teaspoon of djion mustard
1 tablespoon of Greek Yoghurt

Method

Start by making the sauce. I must add that I was tempted to call this Tartare Sauce but with so few ingredients in common with the traditional I was worried about getting slammed with the trades descriptions act. It is a bit like tartare sauce…but not really…it does go bloomin’ well with the fish fingers though, honest!
1) Finely dice the radishes, gherkins and capers.
DSC08918
2) Add the mustard and yoghurt to the chopped ingredients and stir well.
3) Pop into the fridge until needed.
4) Next, chop the sweet potatoes into chunks and put into a pan of boiling water. Let boil for 20 minutes whilst you prepare the fish.
5) Cut each fish fillet into thick strips – for the fillets I used I just had to snip them in half with scissors but you could cut them into three if yours are bigger.
6) Put the stale bread into a food processor and blitz to make breadcrumbs. If you don’t have a food processor you can use a grater but it will take ages if the bread is as stale as mine was.
7) Dip the pieces of fish into the flour, then into the egg and then into the breadcrumbs. If there are still breadcrumbs left in the bowl after the first dip, pop the fish back into the egg and then in the breadcrumbs again to get them all used up.
8) Place the fish fingers on a baking tray greased with a teaspoon of vegetable oil and put into an oven preheated to 180°C for 15 – 20 minutes or until the fish is cooked through. 
9) When the fish is nearly ready put the frozen peas into a large heatproof bowl and cover with boiling water, leave to stand until defrosted (around 5 minutes).
10) Drain the peas and add the lemon juice, chopped mint and a splash of olive oil, mix well.
11) To serve, drain and mash the sweet potato and serve alongside the fish, pea salad and the sauce.
DSC08927
What leftovers inspired you this week? Or are you feeling uninspired by your store-cupboard ingredients? Send me a message and I could write a recipe just for you xx

Try Total

Uncategorized

On Thursday I was invited to La Cucina Caldesi to attend a cookery class hosted by TV chef and food writer Tonia Buxton and my chums at Total Greek Yoghurt.
I was pretty sure the day was going to be a giggle even before I stepped inside the Italian Cookery School as someone had already mischeviously replaced the word “Italian” with “Greek” on the door.
20140420-124420.jpg
Once in and name badges on everyone started chatting and quickly sharing twitter handles, blog stories and cookery tips. Tonia came round with some fantastic slices of a traditional Easter Breads. I went for a slab of Flaounes which was full of spices, sesame seeds, cheese and dried fruits. It was delicious but turns out quite difficult to eat whilst making foodie small talk. I did manage to have a good chat to someone about barbeques…I don’t think I spat sesame seeds on to him, but if I did, Jonathan, I apologise 🙂

Tonia put us all into small groups. I was with Selina from Taste Mauritius, Lucia from Lulabella’s Kitchen, Janey from Slice of Slim and Bailee from The Model Foodie joined us later. These girls are all hilarious and all fantastic cooks so we finished prepping our main course of Tonia’s Greek Lamb Pattie Tray Bake before everyone else (such swots!).
photo by Satureyes Photography
20140420-124547.jpg
We were so efficient that there was plenty of time for a Team PILE IN pic!
20140420-124600.jpg
Tray bakes safely in the oven Tonia gave us all a glass of rosé and got us to play a round of tsougrisma. Basically everyone gets a boiled egg which has been dyed red and you have to go round the room hitting your egg on the egg of each of the other players in an attempt to crack it and they all do the same to you.  It’s a bit like conkers because the winner is the person with the most intact egg at the end. Tonia won, but she had some clever technique going on so we weren’t surprised.Photo by Satureyes Photography

Eggs smashed and wine dispatched we started prepping our desserts of Anarocrema which is a layered dessert of crumbled filo pastry, a mixture of Total Greek Yoghurt, flavourings like cinnamon or rosewater and a type of cream cheese called Anari (made from the whey from halloumi) then topped with fruits, nuts and more filo. 20140420-124655.jpg

We got into a bit of trouble making our desserts as we kept adding sugar and rosewater to everything…I blame that jolly nice rosé.Photo by Satureyes Photography

Photo by Satureyes Photography

Selina had to leave the workshop early but had the forethought to bring tupperware with her…urm..GENIUS!

20140420-124716.jpg

20140420-124707.jpg

And finally we made our starter of Sea Bream Fillets with capers, garlic, corriander and olives with a Tahini sauce. I loved this dish, it’s full of flavour and I really liked how we all ate it standing up straight out of the pan. 20140420-124729.jpg I had a fantastic day with Tonia, Total Greek Yoghurt and all the bloggers. Tonia is an absolute hoot – as well as enthusiastically jumping into the last pile-in photo she gave me a big chunk of the leftover Flaounes to take home for breakfast the next day! Check out her website for all her foodie happenings! All of her recipes from the day are below but head over to Total’s website for more yoghurty ideas! 20140420-124807.jpg
Hope you all had a fab Easter break xx


20140420-124821.jpg

Φλαούνες
Flaounes 

Makes around 40
Ingredients
For the Flaouna Mixture:

1 kg flaouna cheese
2 pkts hallomi
400g pkt cheddar cheese
1 bunch fresh mint, leaves
1 bottle of mastiki
12 eggs, plus 1 egg to crack and smear over the top of the mixture
1 pkt semolina (small)
2 ½ glasses (500g) plain flour
½ cup sugar (optional, I don’t put in much sugar as I put so many raisins)
20g dried yeast
5 tsp ground cinnamon
1-2 pkts raisins, or to taste
 
For the dough                                                    

1kg plain flour
1 tsp salt            
1 tsp mehlepi
1 tsp ground mastic      
¾ glass (100ml) olive oil          
500g TOTAL Greek Yoghurt
3 tsp baking powder  
 
Method
 

  1. First make the Flauona mix. Grate the three cheeses – we usually do this the day before to dry them out.
  2. Chop the mint leaves. Grind the mastic with a pestle and mortar, adding a little sugar to prevent it from sticking.
  3. Crack all but 1 egg into a large bowl and beat, then add the semolina, flour, sugar, mint, yeast, cheese, cinnamon and last but not least the raisins. Mix well with your hands and flatten out in the bowl. Crack on the last egg, smearing over the top of the mixture, leaving to soak in.
  4. Now for the dough. To the flour, add the salt, mehlepi and ground mastic.
  5. Mix using the palms of your hands and add olive oil and the yoghurt.
  6. Slowly add water to make a dough consistency and knead well for 5-10 minutes.
  7. Separate into 4 balls, cover and leave to stand for 20 minutes in a warm place.

 
Assembling

  1. Roll out the dough into a square, add a heaped amount of the flaouna mixture, fold into a square around the mixture and press the corners down with a fork
  1. Place the flaouna on a lightly greased baking tray. Glaze with a beaten egg that has had a little sugar added to make it a more golden colour. Make sure the egg yolk does not run as this will make the flaouna stick to the backing tray.
  2. Leave the flaounes to stand for 10 minutes before placing in the oven.
  3. Cook in a pre-heated oven at 180°C / Gas Mark 4 for the first 25 minutes or until well risen
  4. Do not open the oven door at all for the first 25 minutes as this will make the flaouna sink.
  5. Reduce the oven to 160°C / Gas Mark 2 for a further 10-15 minutes or until golden brown.


20140420-124744.jpg 
Greek Sea Bream Fillets with Olives, Capers, Lemon & Yoghurt Tahini Sauce
Serves: 2 or 4 as a starter/meze

Ingredients

4 sea bream fillets (or seabass)
2 tbsp olive oil
1 clove garlic, thinly sliced
25g pine nuts
12 Greek green olives (takistès if possible)
1 tablespoon of capers
Juice of 1 lemon
½ x 15g pack fresh coriander, chopped
 
For the Tahini Yoghurt Sauce

1 large tbsp Total Greek Yoghurt
1 heaped tablespoon of wholemeal Tahini paste,
1 clove garlic, crushed
1 large pinch sea salt
Juice of 1 lemon
Cold water to slacken, if needed
 
Method
 

  1. Lightly season the sea bream fillets.
  2. Heat 1 tablespoon of olive oil in a non-stick frying pan, then add the fillets skin-side down. Cook for 2-3 minutes or until the skin is crisp and golden brown.
  3. Turn over and cook for a further 1-2 minutes, until the flesh is opaque and just cooked through. Remove from the pan and place on warmed serving plates.
  4. Add the remaining tablespoon of oil to the pan and cook the garlic and pine nuts for 1 minute, until they start to lightly brown. Add the olives and capers and sauté for a further minute.
  5. Remove the pan from the heat and stir in the lemon juice. Let it bubble for a minute then sprinkle in the coriander.
  6. Mix the yoghurt sauce ingredients together.
  7. Spoon the sauce over the fish and serve immediately.

Lamb Tray Bake 
Greek Lamb Pattie Tray Bake

Serves: 4


Ingredients

100g TOTAL Greek Yoghurt
100g fresh wholemeal breadcrumbs
400g lamb mince
1 egg, beaten
1 tsp ground cumin
4 red onions (2 finely chopped, 2 cut into wedges)
Large handful mint, chopped
4 waxy new potatoes, ie charlottes cut into wedges
4 courgettes, halved & quartered lengthways
250g pack midi tomatoes on the vine
2 unwaxed lemons cut into 6 wedges each
4 tbsp olive oil
100g feta cheese, crumbled

Method

  1. Heat the oven to 200°C / 180°C Fan / Gas Mark 6.
  2. Put the breadcrumbs, the lamb mince, egg, plenty of seasoning and cumin in a bowl.
  3. Add the chopped onion and sprinkle in half the chopped mint. Give everything a good mix and shape into 8 patties.
  4. Lightly oil a large, shallow roasting tray and add the patties.
  5. Place the onion wedges on the tray around the lamb patties with the potatoes, courgettes and tomatoes. Drizzle with olive oil and season. Bake for around 40 minutes, turning & basting everything once halfway, until the lamb is cooked though and the vegetables are tender. Remove from the oven and sprinkle with the feta and remaining mint.
  6. Serve with a yoghurt and tahini sauce.

Greek Salad

Tray Bake with Tahini and Salad


AnarocremaAnarocrema

Serves: 8
 
Ingredients

5 sheets of filo pastry
Olive oil to brush
1 kg unsalted Anari Cheese (or ricotta cheese)
750g Total Greek Yoghurt
 
Toppings

½ glass (125g) caster sugar
1 small Greek coffee cup (50ml) of rosewater
OR
3 tsp ground cinnamon
3 tbsp honey
OR
3 tbsp honey
½ glass of orange blossom water
PLUS
1 glass halved walnuts
OR
1 glass chopped pistachio nuts
1 glass of fresh raspberries
OR
Chopped strawberries
 
Method


  1. Cut the 5 sheets of filo pastry in half to make 10 sheets. Place each stack side by side on a baking tray brushing between each sheet with some oil. Bake in a preheated oven (150°C / Fan 130°C / Gas Mark 2) for 15-20 minutes or until golden brown. Cool then crush into flakes.
  2. Place the Anari cheese in a bowl, breaking down with a fork. Add the Greek yoghurt & your preferred flavouring.
  3. Cover the bowl and pop in the fridge for 10-15 minutes to firm up.
  4. You need a pretty glass bowl to assemble the dessert, or single sundae glasses.
  5. First, scatter half the filo pastry into the base of the dish, then dollop in some of the cream mixture, layer some nuts & fruit & repeat.

Photo by Satureyes Photography

Recipes by Tonia Buxton and additional photos by Satureyes Photography.